 Kes Faucets




How Do I Fix a Dripping Lever Tap Myself (Step by Step)?
浏览次数:171 分类:Repair
Here is the complete, publish-ready HTML article fragment:
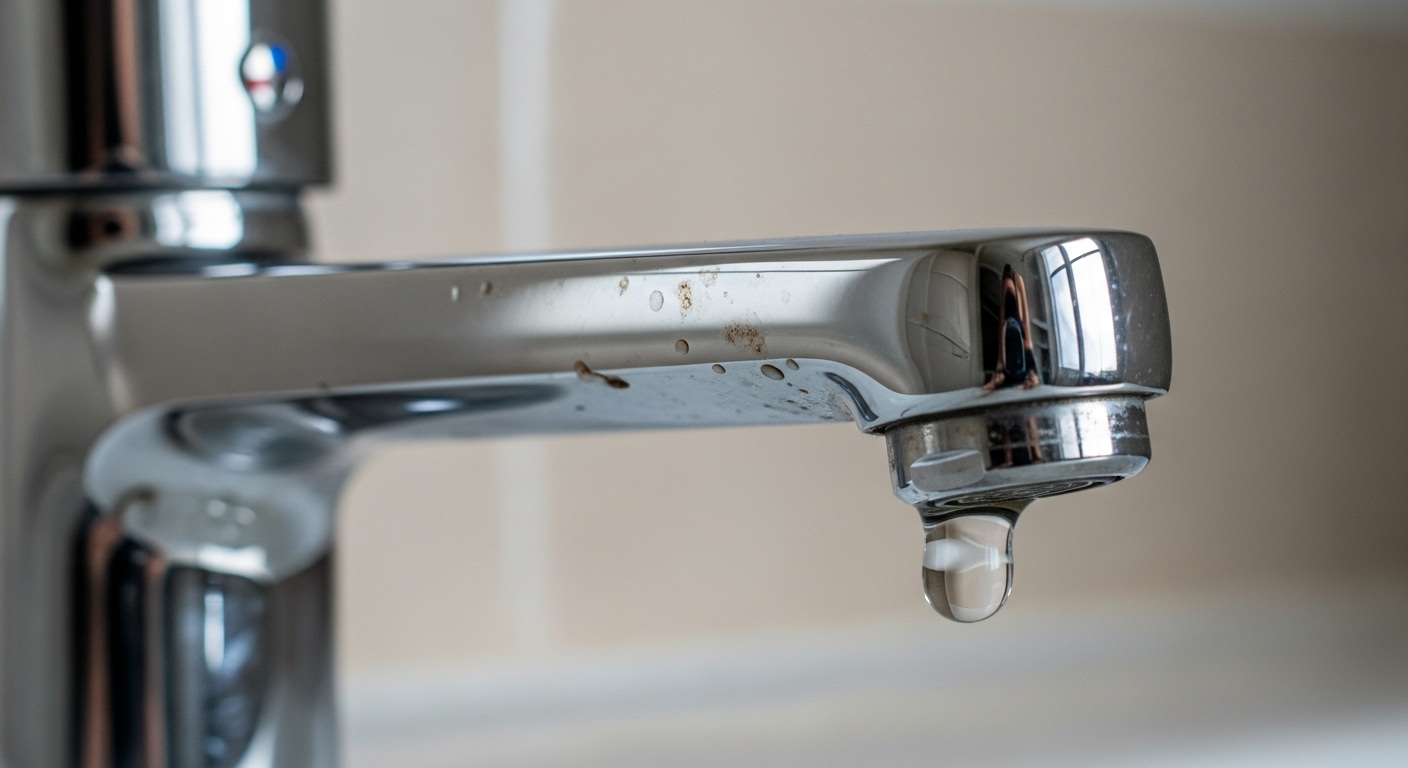
Learning how to fix a dripping lever tap is one of the most worthwhile 30 minutes you can spend on your home. A single-handle (lever) mixer tap that drips once per second wastes roughly 3,000 gallons a year — and that steady tick… tick… tick… at 2 a.m. is genuinely maddening. The good news: a dripping lever tap almost never means you need a new faucet. It means one cheap part inside — usually a ceramic disc cartridge — has worn out and needs swapping. This guide walks you through diagnosing exactly why your lever tap drips and fixing it yourself, even if you’ve never opened a tap before.
Lever taps (the kind with one handle you push up/down for flow and side-to-side for temperature) work differently from old two-handle taps, so the fix is a little different too. Below, we’ll cover what’s actually leaking, the tools you need, a clear step-by-step repair, and when it’s smarter to replace the whole tap.
Why does my single lever tap keep dripping from the spout?
A single lever tap drips from the spout because the cartridge inside — the part that opens and closes the water flow — no longer seals fully when you push the handle down. In modern lever taps that cartridge uses two polished ceramic discs; over years of use, grit and limescale scratch those discs or wear the rubber seals beneath them, so a thin film of water sneaks through even when the tap is “off.”
There are really only three culprits behind a dripping lever tap, and identifying which one you have saves you time and money:
- Worn ceramic disc cartridge (most common): The tap drips from the spout, the drip is steady, and the handle may feel gritty or loose when you move it. The whole cartridge is replaced as one unit.
- Worn rubber seals / O-rings: On some cartridges the ceramic discs are fine but the small rubber seals at the base have hardened. Water drips from the spout or weeps around the base of the spout when running.
- Limescale or debris stuck in the cartridge: Common in hard-water areas. A bit of grit holds the discs apart. Sometimes a clean-and-reseat fixes it without a new part.
If your water instead leaks from under the handle or pools around the base of the tap, that’s usually a perished O-ring on the spout or body rather than the cartridge — a related but slightly different fix we’ll cover below. If a faucet quit on you entirely rather than dripping, our guide on why your faucet stops working suddenly covers that scenario in detail.
What tools and parts do I need to fix a dripping lever tap?
You need a flat and Phillips screwdriver, a small Allen (hex) key, an adjustable wrench or basin spanner, and a replacement cartridge or seal kit — that’s the whole list for about 90% of lever-tap repairs. None of it is specialist; most people already have the tools in a drawer.
Here’s the full kit so you only make one trip:
- Replacement cartridge (take your old one to the store, or note the tap brand/model) — $8–$30
- Set of O-rings / seals if you’re reseating rather than replacing — $3–$8
- Allen key set — many lever handles are held by a tiny grub screw
- Flat-head screwdriver to pry off the decorative index cap (the red/blue dot)
- Adjustable wrench or water-pump pliers to undo the retaining nut
- Silicone plumber’s grease to lubricate new seals — $4
- White vinegar to dissolve limescale
- An old towel and a torch/flashlight
The single most important step before buying parts: identify your cartridge. Cartridges are not universal — a 35mm ceramic cartridge won’t fit a tap built for a 40mm one, and brand-specific cartridges (Kohler, Moen, Grohe, KES) have their own shapes. The safest route is to remove the old cartridge first (Steps 1–4 below), then buy the exact match. If you’re buying a whole new tap instead, our guide on how to check faucet compatibility before buying will save you a return trip.
How do I replace the cartridge in a lever mixer tap, step by step?
To replace the cartridge, shut off the water, remove the handle and retaining nut, lift out the old cartridge, drop in the matching new one, and reassemble in reverse order. The whole job takes 20–40 minutes. Here’s exactly how:
- Turn off the water supply. Close the two isolation valves under the sink (turn the slot 90° with a flat screwdriver). No isolation valves? Shut off your home’s main stopcock. Then open the tap to release pressure and confirm the water is truly off.
- Plug the drain. Drop in the stopper or stuff a rag in the plughole so no screws disappear down it.
- Remove the handle. Pry off the small index cap on top or on the side of the lever with a flat screwdriver. Underneath is a grub screw — loosen it with your Allen key (don’t fully remove it, just enough). Lift the lever handle straight up and off.
- Unscrew the dome/shroud and retaining nut. Unscrew the decorative chrome dome by hand, then use your wrench on the brass retaining nut underneath. Turn counter-clockwise. Hold the spout steady so you don’t twist the whole tap body.
- Lift out the old cartridge. It pulls straight up. Note its orientation — there’s usually a small locating notch or flat that must line up on reassembly, or the hot/cold will be reversed.
- Inspect and clean. Look at the ceramic discs and the rubber seals at the base. If they’re scratched, cracked, or hardened, replace. If they’re just crusted with white limescale, soak the cartridge in white vinegar for an hour, rinse, and you may be able to reuse it.
- Fit the new cartridge. Line up the notch, push it firmly into the seat. Smear a little silicone grease on the new O-rings first so they seat without tearing.
- Reassemble in reverse. Retaining nut, dome, handle, grub screw, index cap. Snug the retaining nut firmly but don’t overtighten — you can crack the ceramic.
- Turn the water back on slowly and test. Open and close the lever a few times, check for drips at the spout and base, and check underneath for leaks at the supply connections.
If you got everything back together and now the handle feels stiff or the temperature mixing is wrong, you almost certainly fitted the cartridge with the notch rotated — pop the handle back off and rotate it 180°. And while you’re in there, it’s a good moment to understand the difference between hot and cold faucet valves so the mixing behaves the way you expect.
Why is my lever tap dripping from the base instead of the spout?
If your lever tap weeps from the base of the spout (where it meets the body) rather than dripping from the end of the spout, the problem is a worn O-ring on the spout, not the cartridge. This is common on taps with a swivel spout that rotates over the sink.
The fix is similar but simpler — you don’t need a new cartridge. Turn off the water, remove the handle and cartridge nut to free the spout, slide the spout up and off, and you’ll see two or three rubber O-rings around the base. Roll the old ones off, clean the groove, grease and fit new ones of the matching size, and slide the spout back on. A spout O-ring kit costs a few dollars. The trick is matching the O-ring diameter and thickness exactly; bring the old ones to the store.
One caution: if you also see green or white crusting around those seals, hard water and corrosion are accelerating the wear. It’s worth reading our tips to prevent faucet corrosion so you’re not back inside the tap in six months.
Should I repair my dripping lever tap or just replace it?
Repair it if the tap is under about 10 years old, the finish is still good, and only the cartridge or seals have worn — that’s a $10–$30 fix versus $80–$300+ for a new tap. Replace it if the tap body itself is cracked or corroded, parts are discontinued, or you’ve already replaced the cartridge and it’s dripping again within months.
Here’s a clear comparison to help you decide:
| Situation | Best choice | Typical cost | Time |
|---|---|---|---|
| Worn cartridge, tap body in good shape | Repair (new cartridge) | $8–$30 | 20–40 min |
| Weeping from spout base only | Repair (new O-rings) | $3–$8 | 15–30 min |
| Hard-water grit holding discs open | Clean & reseat cartridge | $0–$5 | 20 min |
| Cracked or badly corroded tap body | Replace whole tap | $80–$300+ | 1–2 hrs |
| Cartridge discontinued / no longer sold | Replace whole tap | $80–$300+ | 1–2 hrs |
| Repaired once, dripping again in weeks | Replace whole tap | $80–$300+ | 1–2 hrs |
For most people in most homes, a dripping lever tap is a repair, not a replacement. Ceramic disc cartridges are designed to be the wear part — the sacrificial component that’s cheap and easy to swap so the rest of the tap lasts decades. Replacing one is genuinely a beginner-friendly job.
How do I stop my lever tap from dripping again?
The best way to prevent a lever tap from dripping again is to stop slamming the handle shut, fit a quality ceramic cartridge rather than the cheapest one, and tackle hard water — because limescale is what scratches and wears the discs fastest.
A few habits that genuinely extend cartridge life:
- Close the lever gently. Forcing the handle hard against its stop grinds the ceramic discs every single time.
- Descale periodically. In hard-water areas, wipe the spout and aerator with white vinegar monthly to keep grit out of the works.
- Buy the genuine cartridge. Ultra-cheap generic cartridges often use thinner ceramic and softer seals that wear out in a year.
- Don’t overtighten on reassembly. A cracked ceramic disc from over-torquing the retaining nut is a surprisingly common cause of a tap that drips right after a repair.
If your faucet is also making noise or has gotten loose over time, those are separate easy fixes — see our guides on how to quiet a noisy faucet and how to tighten a wobbly faucet while you’ve got your tools out.
FAQ
Can I fix a dripping lever tap without turning off the water?
No — you must turn off the water supply first. The cartridge sits directly in the pressurized water path, and removing the retaining nut with the supply on will release a forceful jet of water across your bathroom. Always close the isolation valves under the sink or the main stopcock before you start.
How much does it cost to fix a dripping lever tap?
If you do it yourself, a dripping lever tap costs $8–$30 for a replacement ceramic cartridge or $3–$8 for an O-ring/seal kit, plus a few dollars for silicone grease if you don’t have it. Calling a plumber typically runs $100–$200 in labor for what is usually a 30-minute job, which is why this is such a popular DIY repair.
Why does my lever tap still drip after I replaced the cartridge?
The two most common reasons are a cartridge that doesn’t exactly match your tap (slightly wrong size or seal layout) or debris left in the seat that’s holding the new discs apart. Remove it again, flush the tap body with the water briefly on, check the cartridge size against your old one, and make sure the locating notch is fully seated. Overtightening the retaining nut can also crack the new ceramic and cause an immediate drip.
How do I know if it’s the cartridge or just the seals?
If the tap drips steadily from the end of the spout and the handle feels gritty, it’s the ceramic disc cartridge. If water weeps from around the base of the spout where it swivels, or only when the tap is running, it’s the spout O-rings. When in doubt, replace both the cartridge and its seals while you’re in there — the parts are cheap and you’ve already done the disassembly.
Are all single-lever tap cartridges the same?
No. Cartridges vary by diameter (commonly 25mm, 35mm, or 40mm), height, and the shape of the locating splines, and many brands use proprietary designs. Never assume a cartridge is universal — remove your old one and match it exactly, or note your tap’s brand and model number before buying.
Will fixing the drip myself void my faucet warranty?
Replacing a wear part like a cartridge generally does not void a faucet warranty — cartridges are consumables and most manufacturers, including KES, supply replacements as standard service parts. However, if your tap is still within its warranty period, check whether the manufacturer will send a free replacement cartridge first; many will. Keep your proof of purchase, and avoid third-party parts if you want to stay strictly within warranty terms.
A note from our team
This guide was written and reviewed by the product and technical team at KES (kesfaucet), a faucet and bathroom-fixtures manufacturer that has been designing, testing, and shipping kitchen and bathroom taps for over 20 years. Our ceramic disc cartridges are independently tested to withstand 500,000+ open-close cycles, and our finishes are validated against ASME A112.18.1 / CSA B125.1 and salt-spray corrosion standards. Every KES mixer tap is backed by a manufacturer warranty, and we stock genuine replacement cartridges and seal kits so a worn part never means a whole new faucet. We believe a dripping tap should be a 30-minute fix, not a reason to replace a fixture you otherwise love.
If after all this your drip won’t quit and you suspect the tap body itself, comparing your symptoms against a real-world repair walkthrough helps — our breakdown of a leaking Glacier Bay bathroom faucet covers the same diagnostic logic on a specific, popular model.
您好!请登录